
Description
The OV7670 is a popular camera module used in various DIY projects and electronic applications. Here are some key features and specifications:
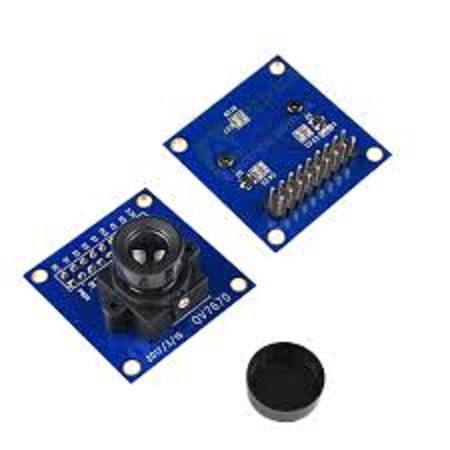
Arduino Camera Module OV7670
•Photosensitive Array: 640 x 480; IO Arduino Camera Module OV7670
•Voltage: 2.5V to 3.0V;
•Sensitivity: 1.3V / (Lux-sec);
•Operating Power: 60mW/15fpsVGAYUV;
•Sleeping Mode: <20 uA;
•Operating Temperature: -30 to 70 deg C.;
•Pixel Coverage: 3.6um x 3.6um;
•Duck Current: 12 mV/s at 6””””C
•Output Format: YUV/YCbCr4:2:2 RGB565/555/444 GRB4:2:2 Raw RGB Data (8 digit);
•Lens Size: 1/6″; Vision Angle: 25 degree;
•Max. Frame Rate: 30fps VGA;
•Signal to Noise Ratio: 46 dB;
•Dynamic Range: 52 dB;
•Browse Mode: By row;
•Electronic Exposure: 1 to 510 row.
Arduino Camera OV7670
It’s commonly used with microcontrollers like Arduino, STM32, and others for projects such as visitor monitoring systems, surveillance systems, and more
- Resolution: 640×480 VGA
- Frame Rate: Up to 30 frames per second (fps)
- Power Supply: Operates on a single 3.3V power supply
- Image Sensor: 0.3-megapixel CMOS color camera
- Lens: Equipped with a high-quality F1.8 / 6mm lens
- Image Processing: Includes features like automatic exposure control, automatic gain control, automatic white balance, and noise reduction
- Interface: Controlled via Serial Camera Control Bus (SCCB), which is an I2C interface
-
Components Needed:
- OV7670 camera module
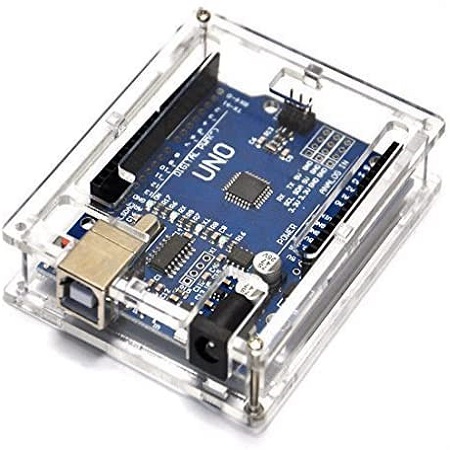
- Arduino Uno (or compatible board)
- Breadboard
- Jumper wires
- Resistors (10kΩ, 4.7kΩ)
- Serial Camera Control Bus (SCCB) library for Arduino
-
Steps:
- Power Supply: Connect the OV7670 module to a 3.3V power supply. The OV7670 operates at 3.3V, so it’s important to avoid using 5V from the Arduino directly.
- Ground Connection: Connect the ground (GND) pin of the OV7670 to the ground (GND) pin on the Arduino.
- Power Connection: Connect the 3.3V pin of the Arduino to the VCC pin of the OV7670.
- I2C Interface: Connect the SCCB pins (SIOC and SIOD) of the OV7670 to the I2C pins (A4 and A5) on the Arduino.
- Clock Signal: Connect the clock pin (CLK) of the OV7670 to a digital pin on the Arduino (e.g., pin 13).
- Data Signal: Connect the data pin (D0) of the OV7670 to another digital pin on the Arduino (e.g., pin 12).
- Frame Sync: Connect the VSYNC pin of the OV7670 to another digital pin on the Arduino (e.g., pin 11).
- Horizontal Reference: Connect the HREF pin of the OV7670 to another digital pin on the Arduino (e.g., pin 10).
-
Arduino Code:
You’ll need to use the SCCB library to control the OV7670 and capture images. Here’s a basic example to get you started:
cpp#include <Wire.h> #include <SCCB.h> void setup() { Wire.begin(); SCCB.begin(); SCCB.setAddress(0x42); // Set SCCB address of OV7670 SCCB.write(0x12, 0x80); // Example SCCB command } void loop() { // Your code to capture and process images }

Reviews
There are no reviews yet.